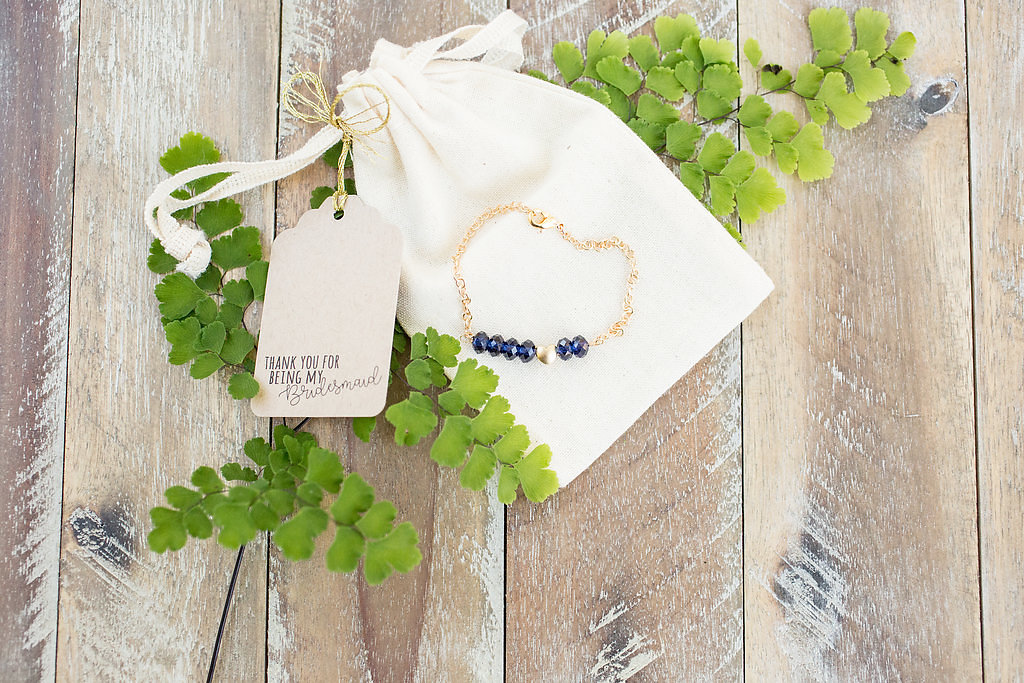
Looking for a meaningful and handmaid gift to thank your bridesmaids? Central Coast jewelry designer, Adria Harrison of Amour Jewelry, shows us 5 easy steps on how to make beautiful bracelets for the perfect bridesmaid keepsake gift.
"Thanking your bride squad is important. If you really want to wow them, consider a handmade thank you gift for them to wear the day of your wedding. Chances are, you have already had a lot of input on what their attire will be for your big day and gifting them a bracelet or necklace as a thank you gift and for them to wear during the wedding checks two things off your bridal to-do list. You can match your wedding colors or go with simple chain and pearl jewelry for a timeless look. Putting your personal touch on it makes it even that much more special. Follow the simple steps below to make these beautiful bracelets for your bridesmaids!"
First, gather your materials. I've assembled a basic material list and everything is available at a local craft store. Beverly's Fabrics in downtown San Luis Obispo and Michael's craft store have a great assortment of beads, chain and findings. If you can't find exactly what you are looking for there, shopping on Etsy for beads and chain is another great option. You can even use chain or beads from an old necklace or earrings that you no longer wear. It is a great way to re-purpose and make it that much more personal!

Here's what you'll need:
Tools:
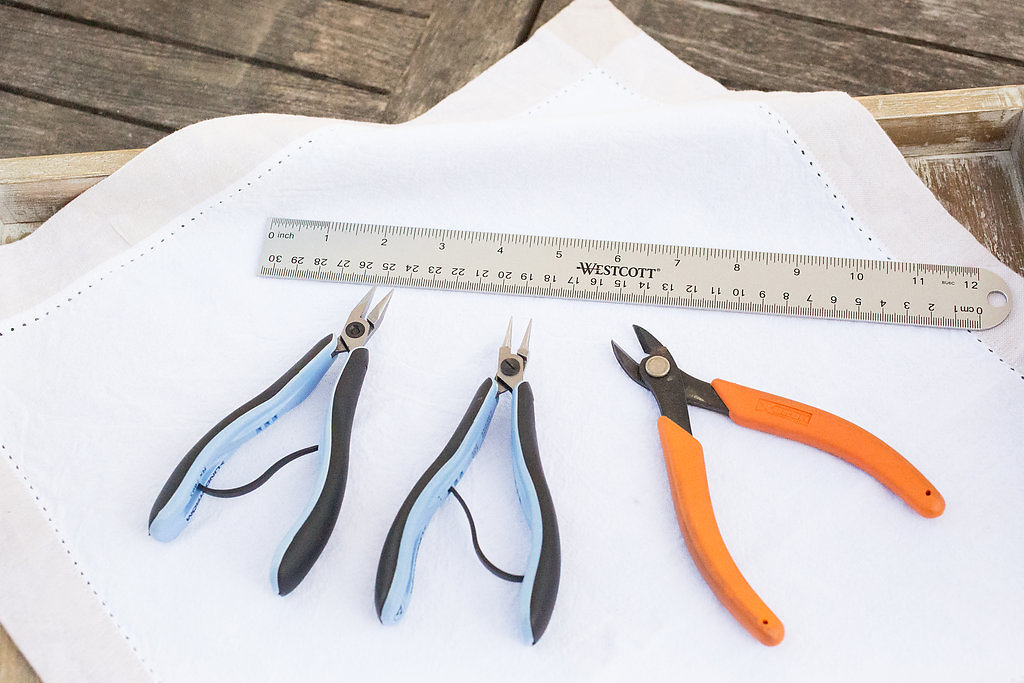
-Chain nose pliers
-round nose pliers
-wire snips
-ruler
-a hand or tea towel to use as a work surface. It helps so that your beads won't roll around if accidently bumped. I also work on a tray so that if I need my work space for something else. I can just pick up the tray with my supplies on it and store it out of the way without having to put everything away.
Materials:
- silver or gold chain *you'll need about 5-6 inches for each bracelet*
- clasp, one for each bracelet
- open jump rings, two for each bracelet
- 24 gauge wire, silver or gold
- beads or pearls
- optional: initial charms, or other charms to further personalize

Let's get started!
1. Cut all of your wire and chain. It helps you to stay organized and your production will be a lot easier if you can get an assembly line going.
- Cut two 3" lengths of chain for each bracelet
- Cut one 3" piece of wire for each bracelet
- Average bracelet lengths vary from 6.5-8 inches in length. For this demo we will be making a 7.5 inch bracelet. If you don't know your gals sizes, using a chain with a little larger links is a good idea. The bracelets can be made on the longer side and then if they are too long, one of the bracelet chain links can be use to attach the clasp to and the rest can dangle down.
2. Attach your wire to your first piece of chain using a "Wrapped Wire Loop" method. See below.
a. Measure down ¾" on your wire and make a 90° "L" bend using your chain nose pliers.

b. Use your round nose pliers to grip the short part of the wire and use your fingers to bend the short piece around the tip of the pliers.

c. Slip the end of one of your pieces of chain into the loop you just made.

d. Holding the loop with your round nose pliers, use the chain nose pliers to wrap the short end of the wire around the long piece of wire 3 times.

e. Using your wire snips, clip the "tail" of the wire and use your chain nose pliers to flatten the part you just cut.

3. Add your beads.

4. Attach your wire bar with beads to the second piece of chain using the same "Wrapped Wire Loop" method. After you are finished securing both pieces of chain to your beaded wire, use your fingers to give it a slight bend to follow the natural curve of the wrist.

5. Attach your clasp to the end of one chain and your other jump ring to the other side of the chain.

Finish by adding a personal touch and wrapping in a cute mesh bag and attaching a thank you tag. And that's it! Your bridesmaid's will love this sentimental and beautifully unique handcrafted bracelet you created specifically for them.


Leave A Comment